
Art Gallery
Papier Mache Pizzas (click to view photos)
-
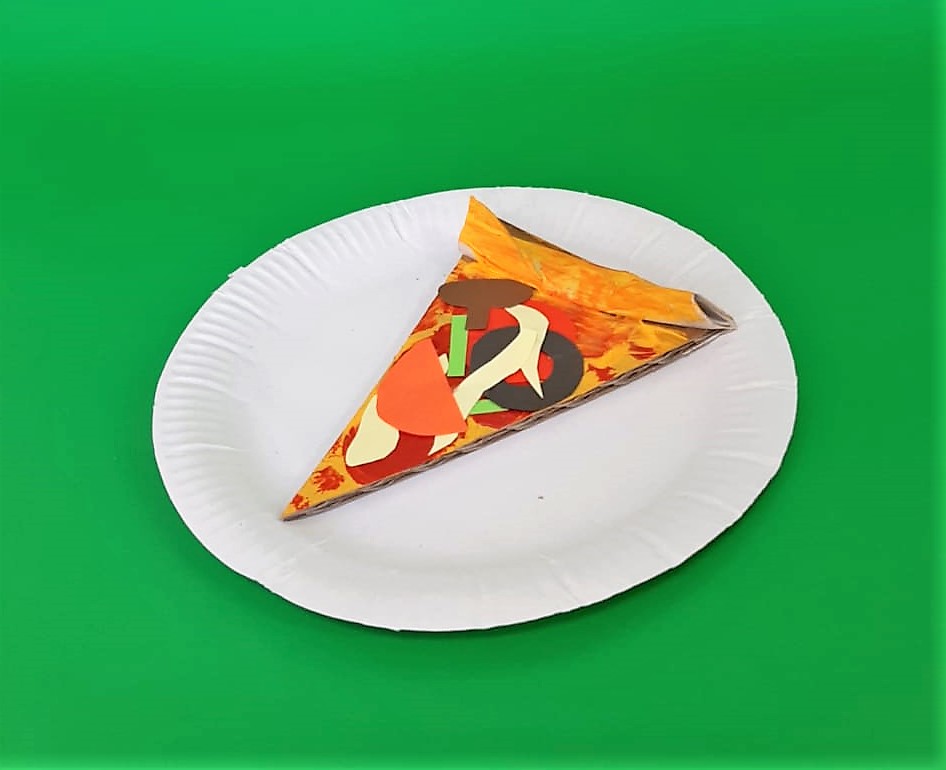
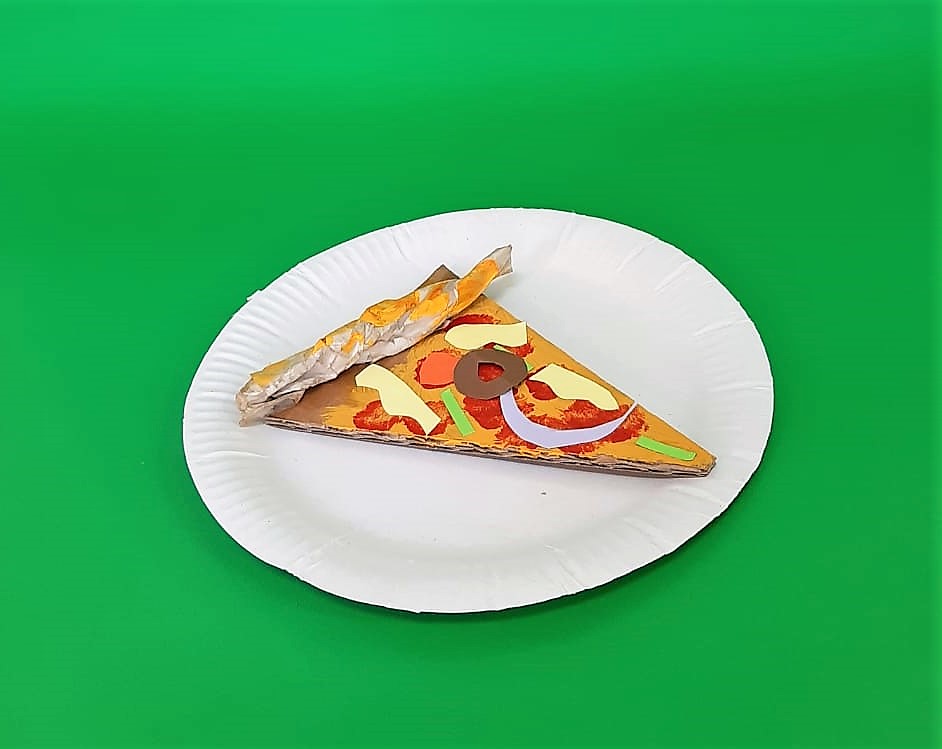
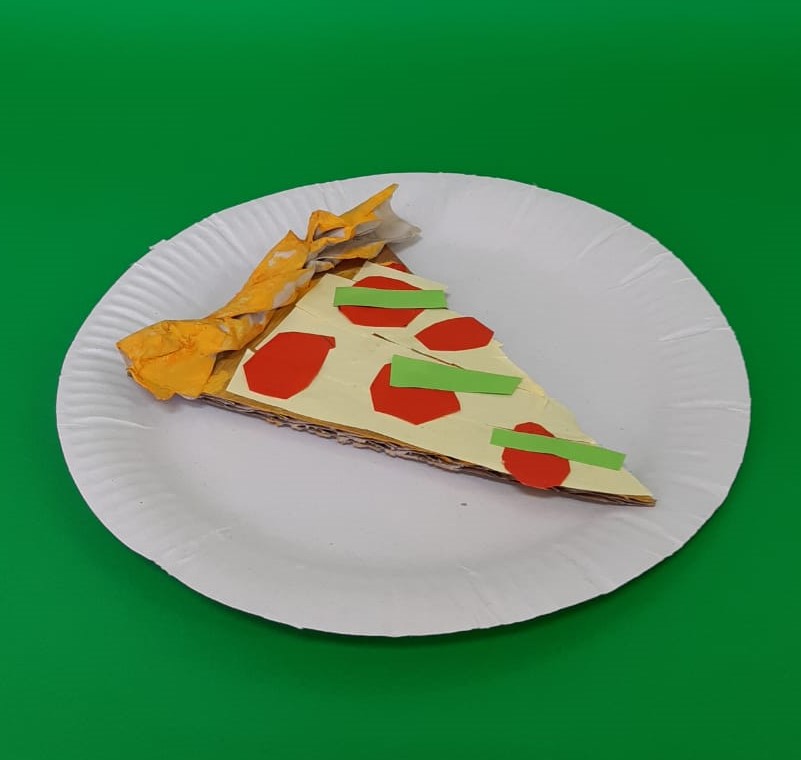
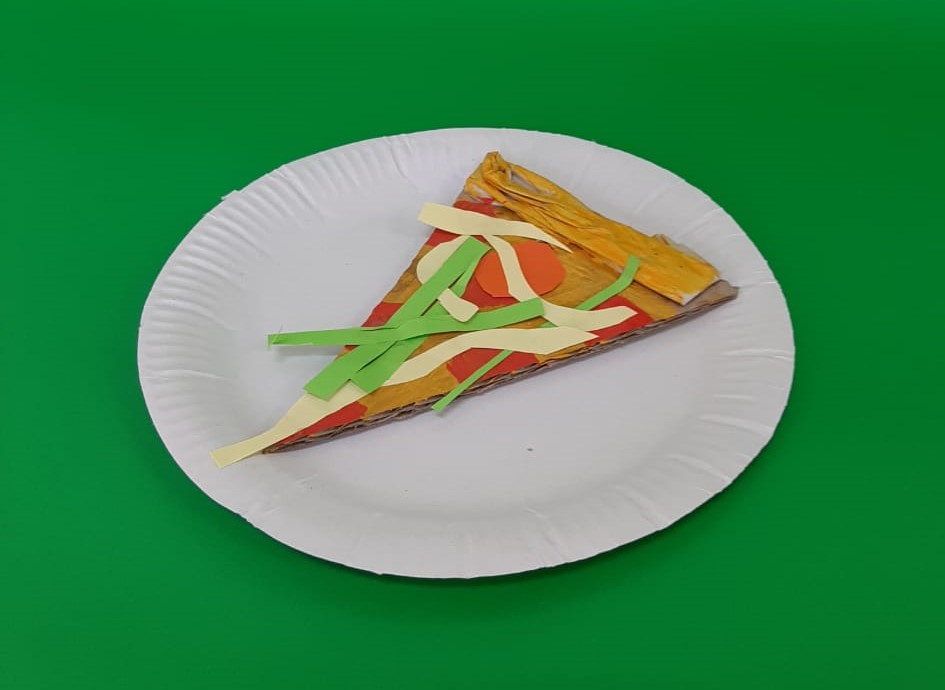
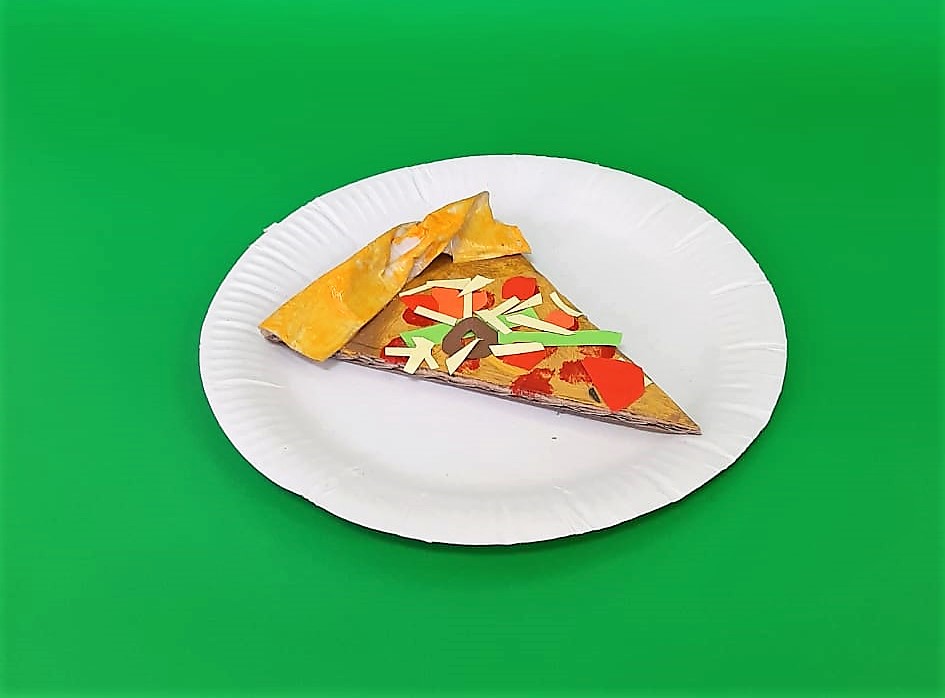
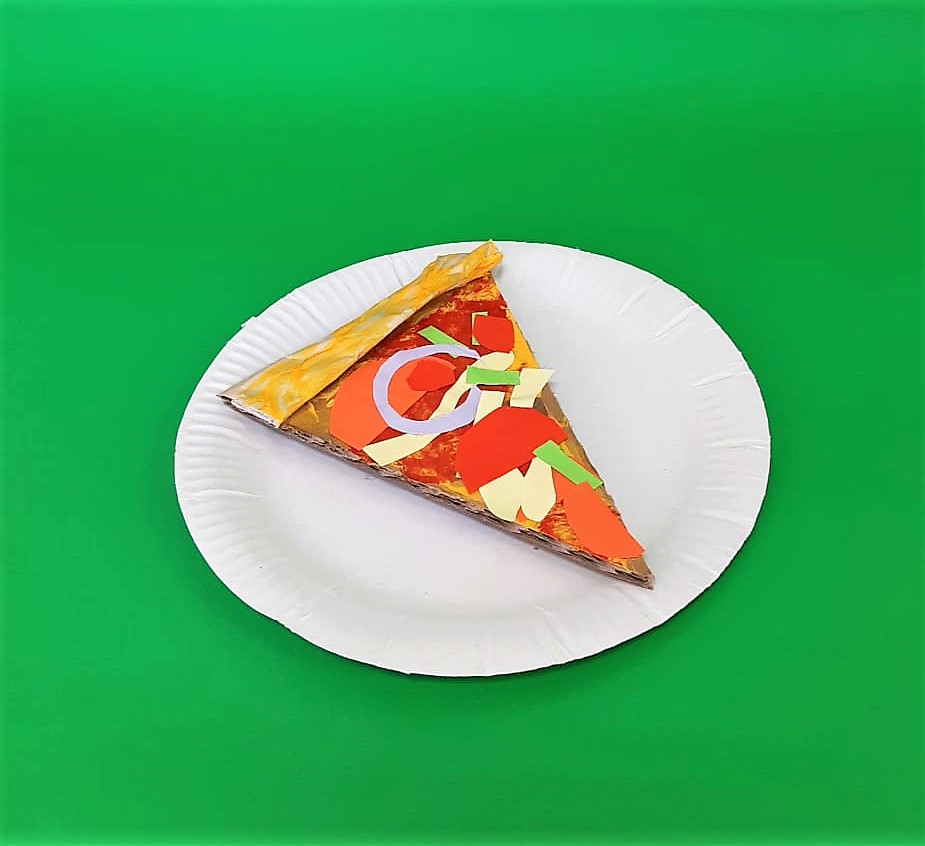
This was a relief sculpture project that the 1t grades did this year. Each student created their own slice of pizza. During the session kids learned paper mache technique, they crumpled one piece of paper, then fold this paper to make the crust of pizza. Add the paper crust to your cardboard slice. Then we Mix PVA glue with a little water and paint over the entire pizza base and crust with a generous layer of the gloopy mix. When the papier-mâché was totally dry, it was time to make toppings and paint. Then each child was responsible for one topping. Each little pizza chef cut out the colored paper, either mozzarella, mushroom, basil, etc. All the children gathered together for the prepping The kids were enjoying 'eating' their pizza slices!
-
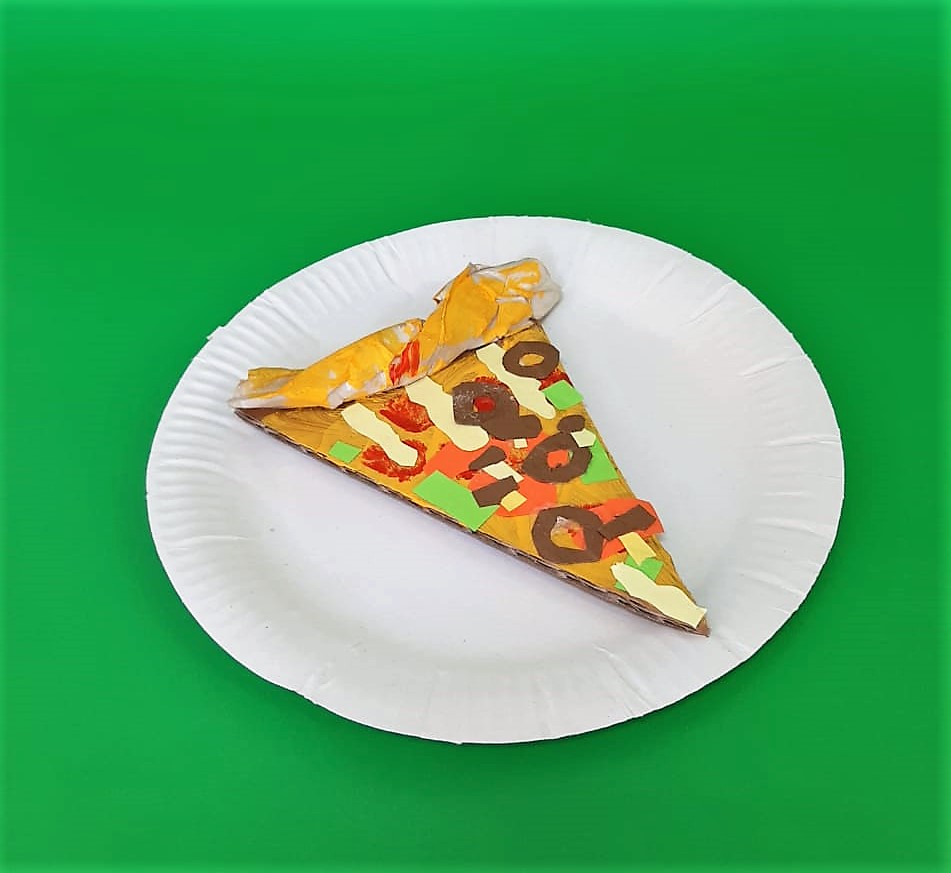 Mohamad AyoubGr. 1 B
 -
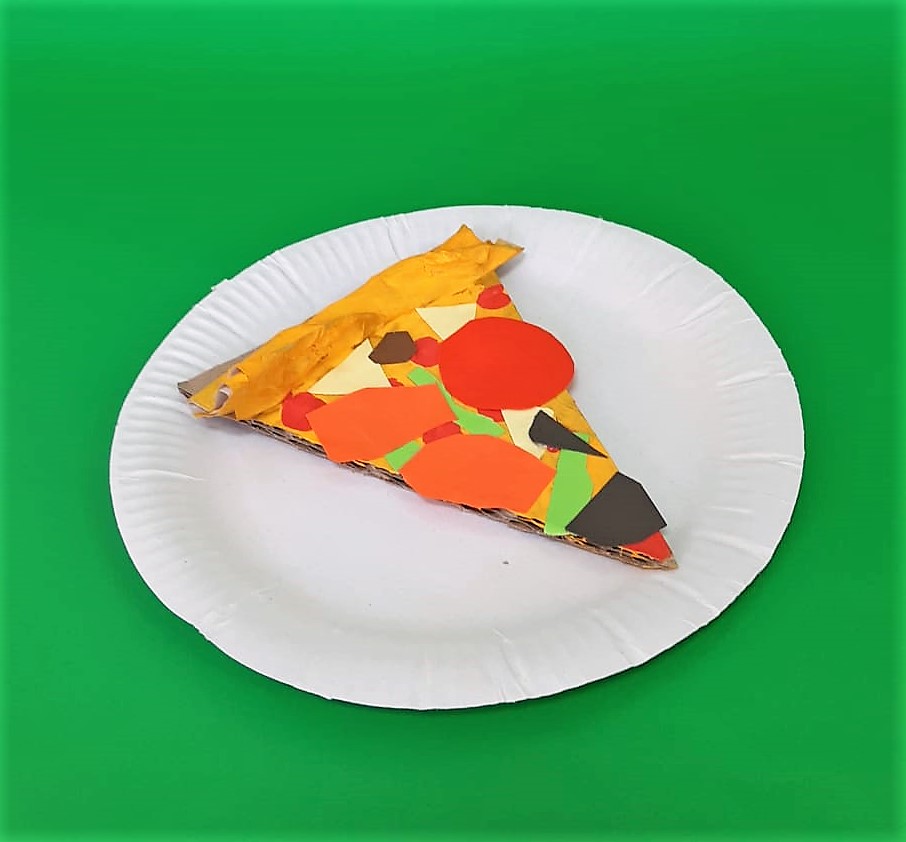 Mia MoussaGr. 1 B
 -
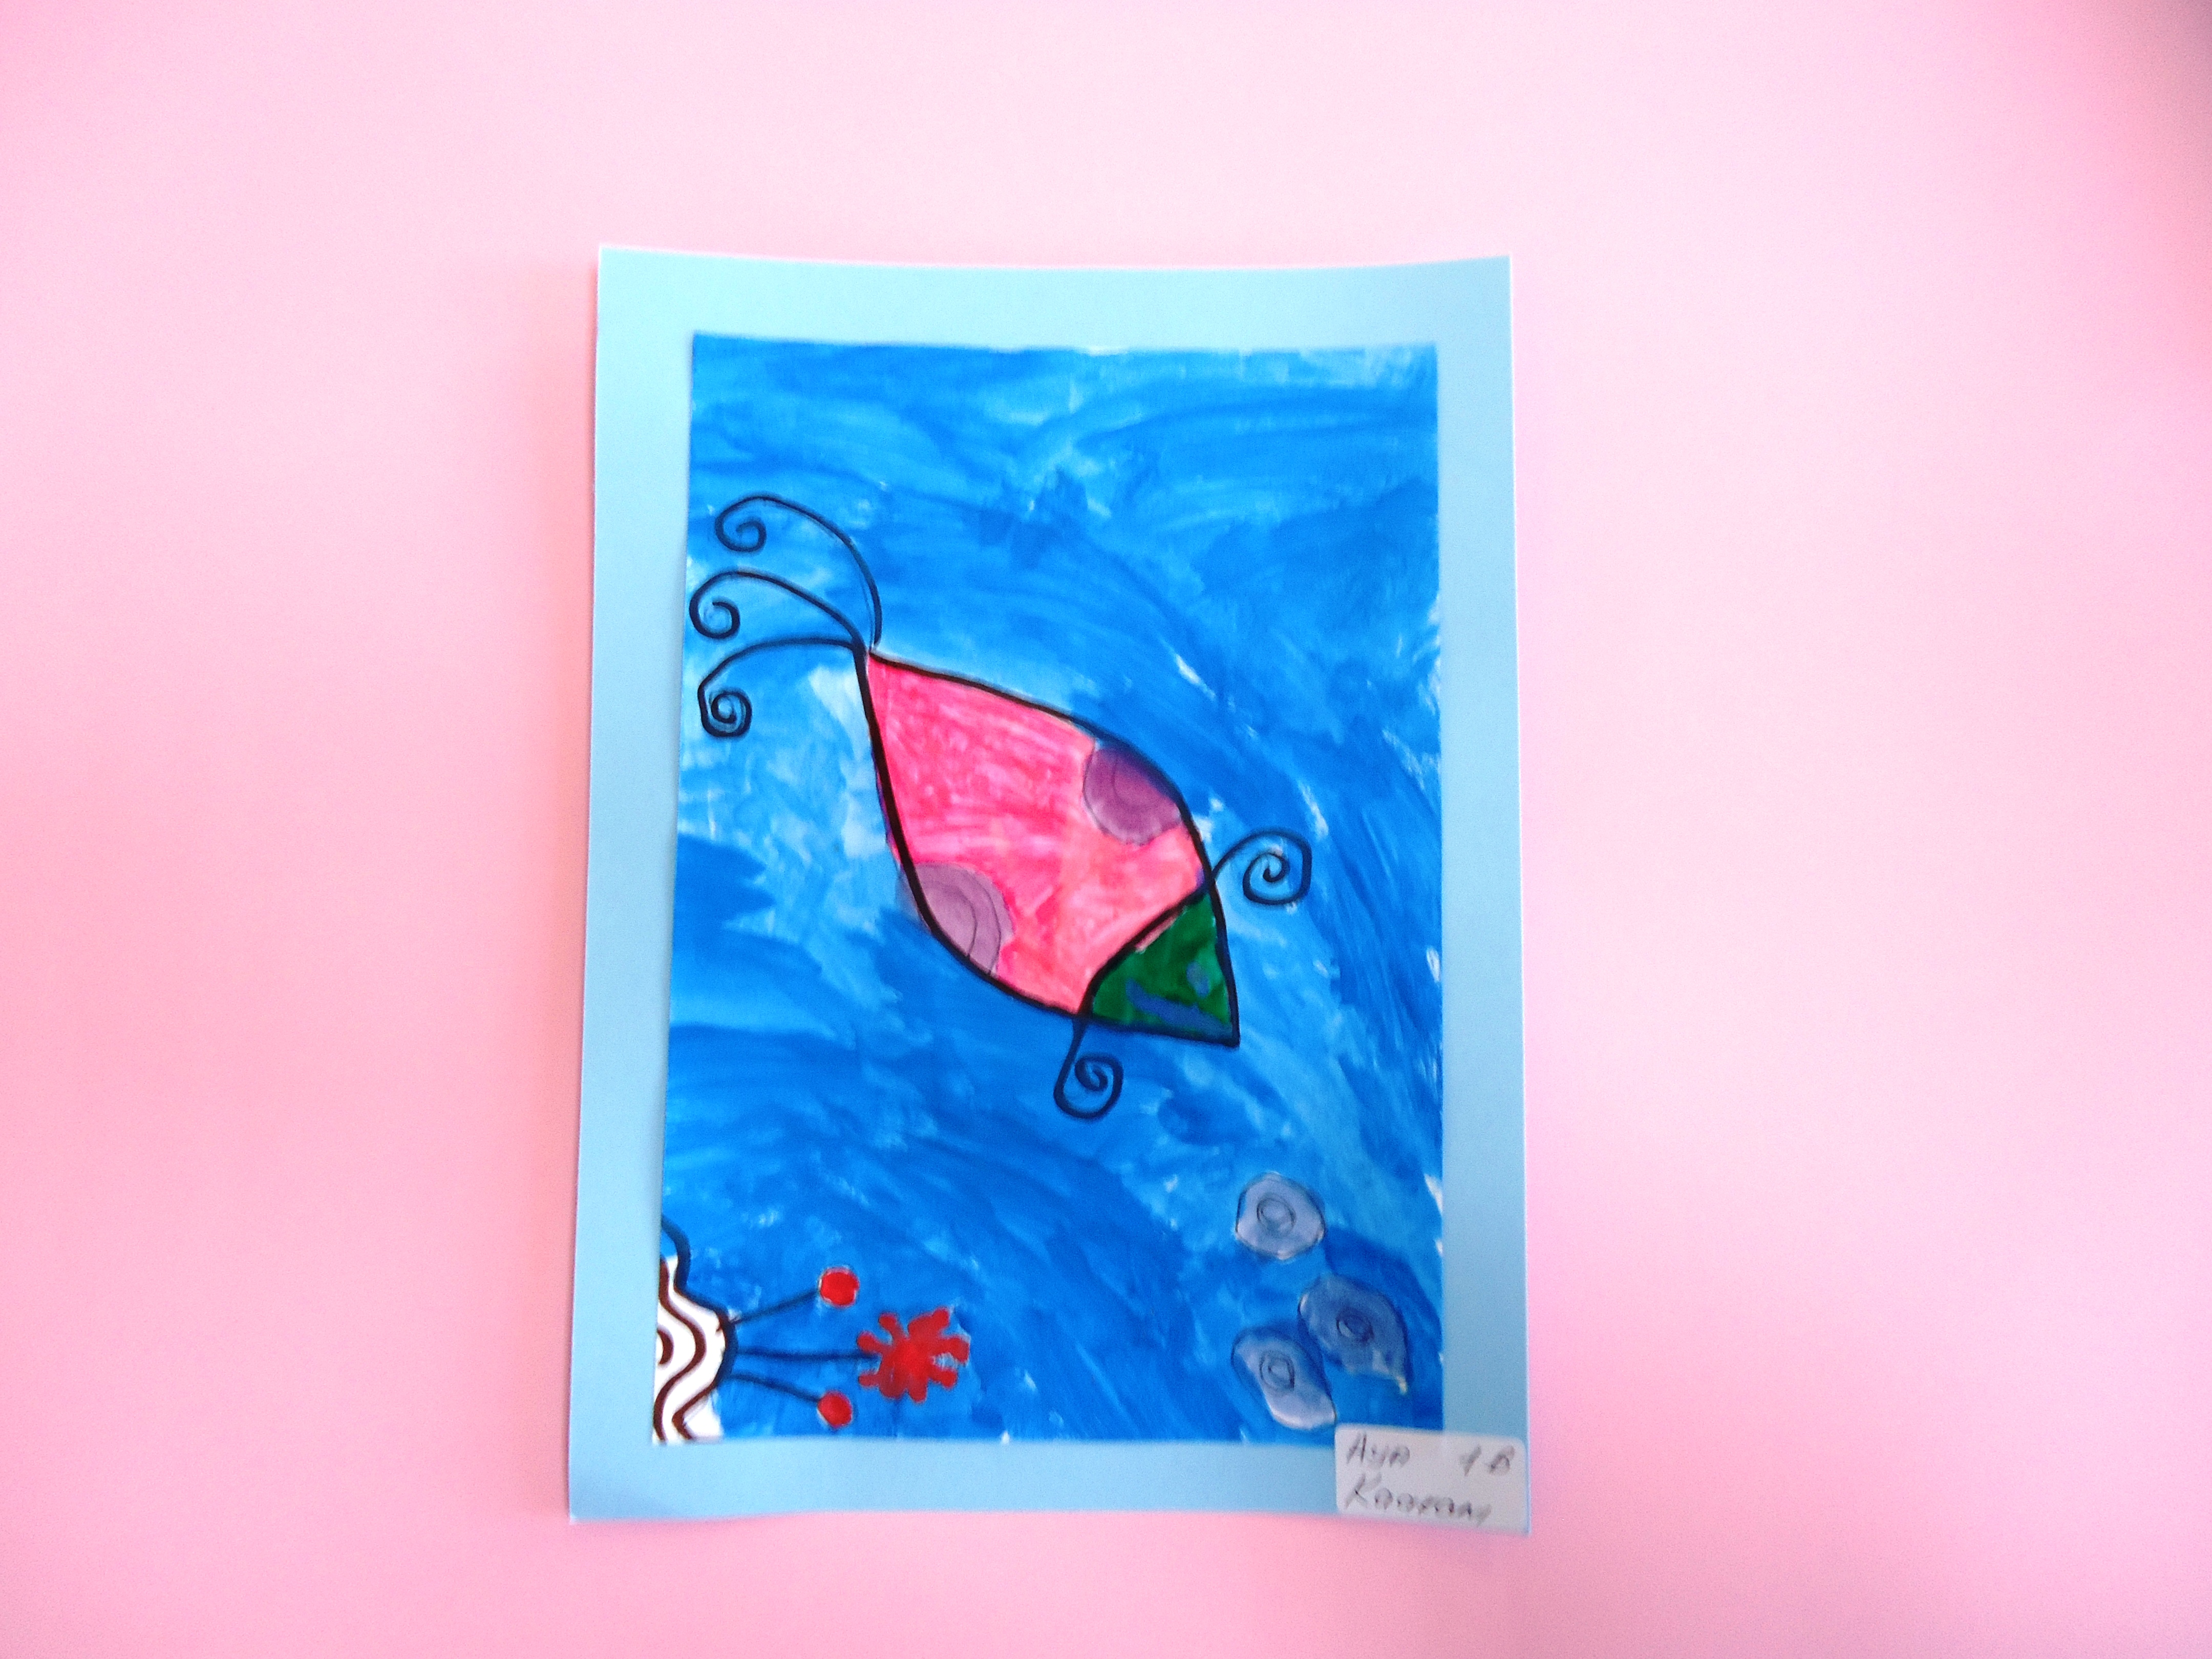
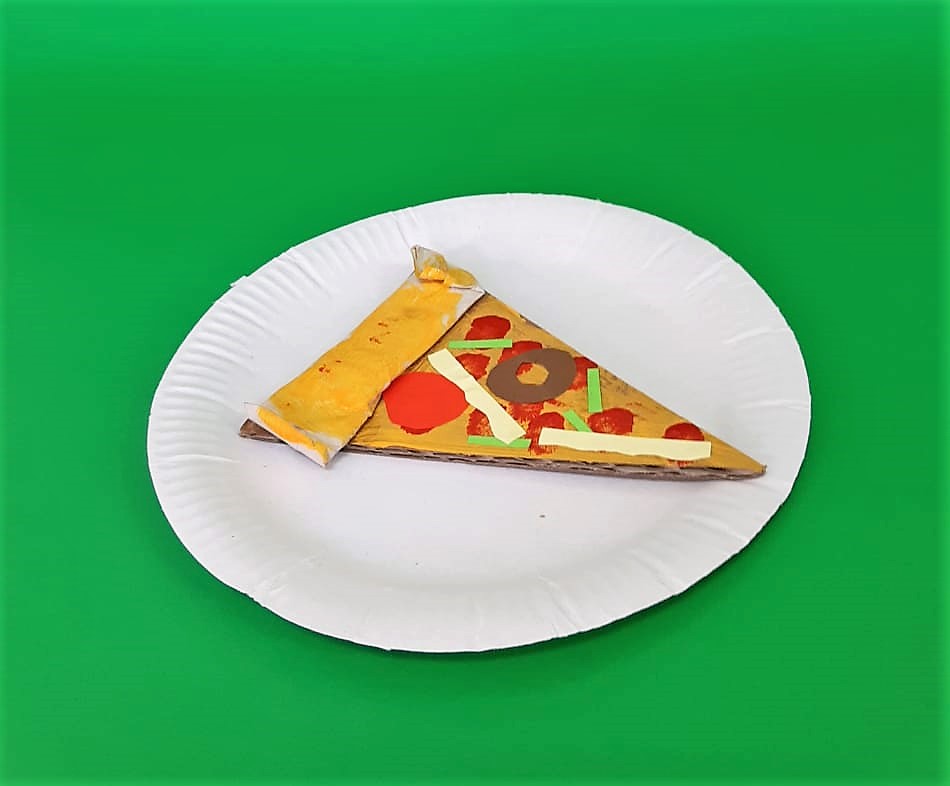 Aya KaakaniGr. 1 B
 -
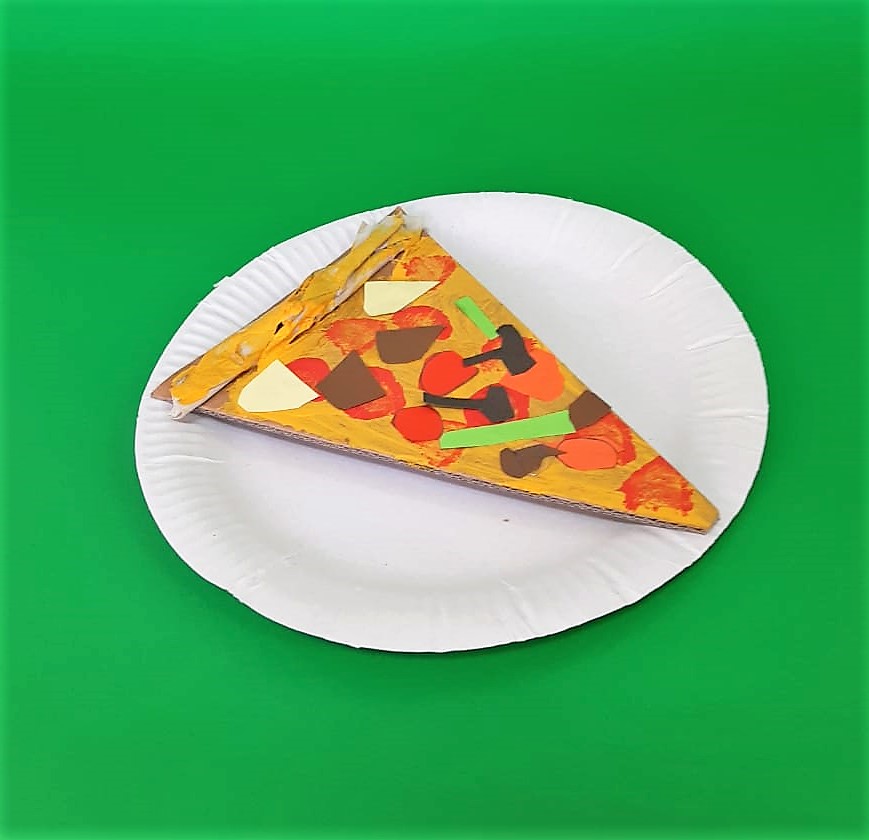 Lynn Sayed (el)Gr.1 B
 -
 Elsy Mekhallalati (el)Gr. 1 C
 -
 Kay BarnabaGr. 1 A
 -
 Nay ShamsedineGr. 1 C
 -
 Talia Ghalayini (al)Gr. 1 A
 -
 Amir MshaimeshGr. 1 C
 -
 Mohamad DaferGr. 1 B
 -
 Majed HarkusGr. 1 C
-
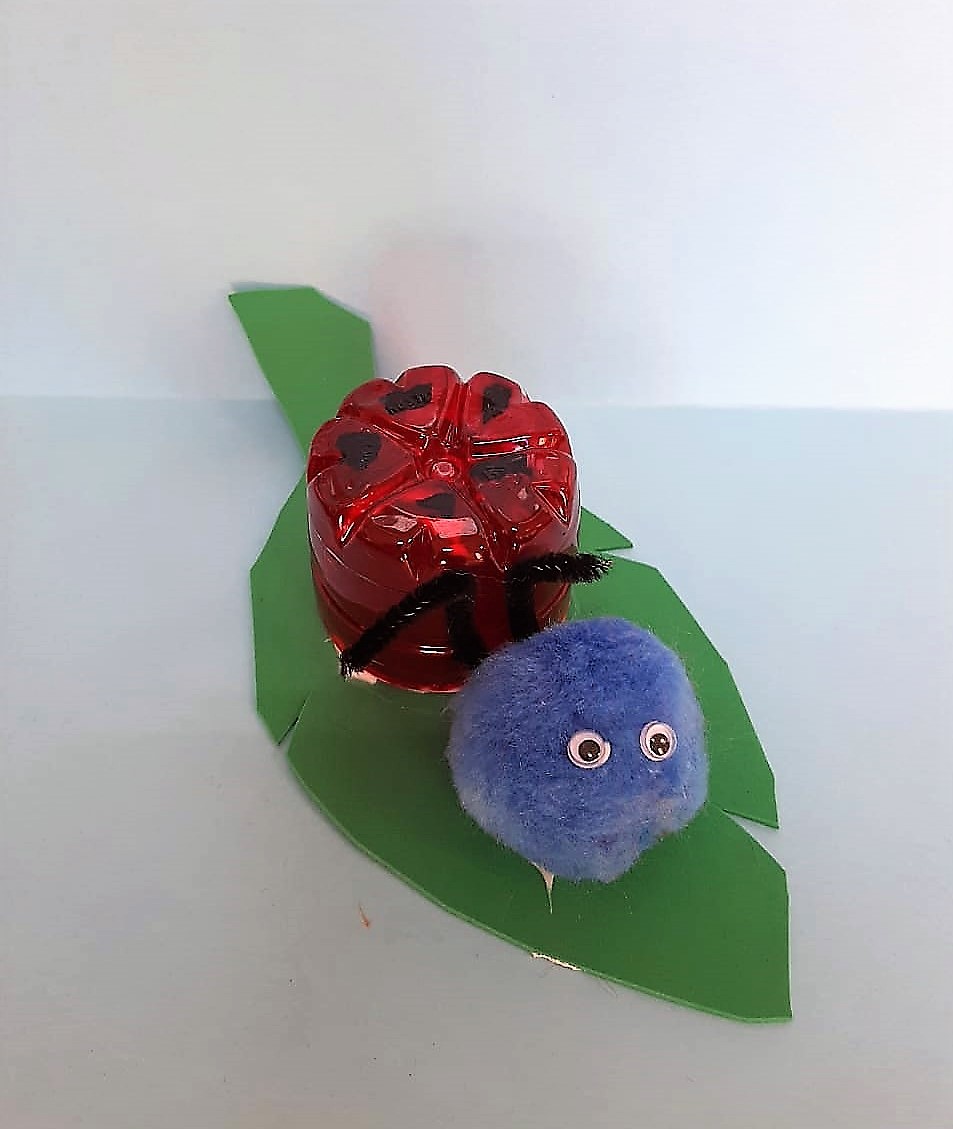
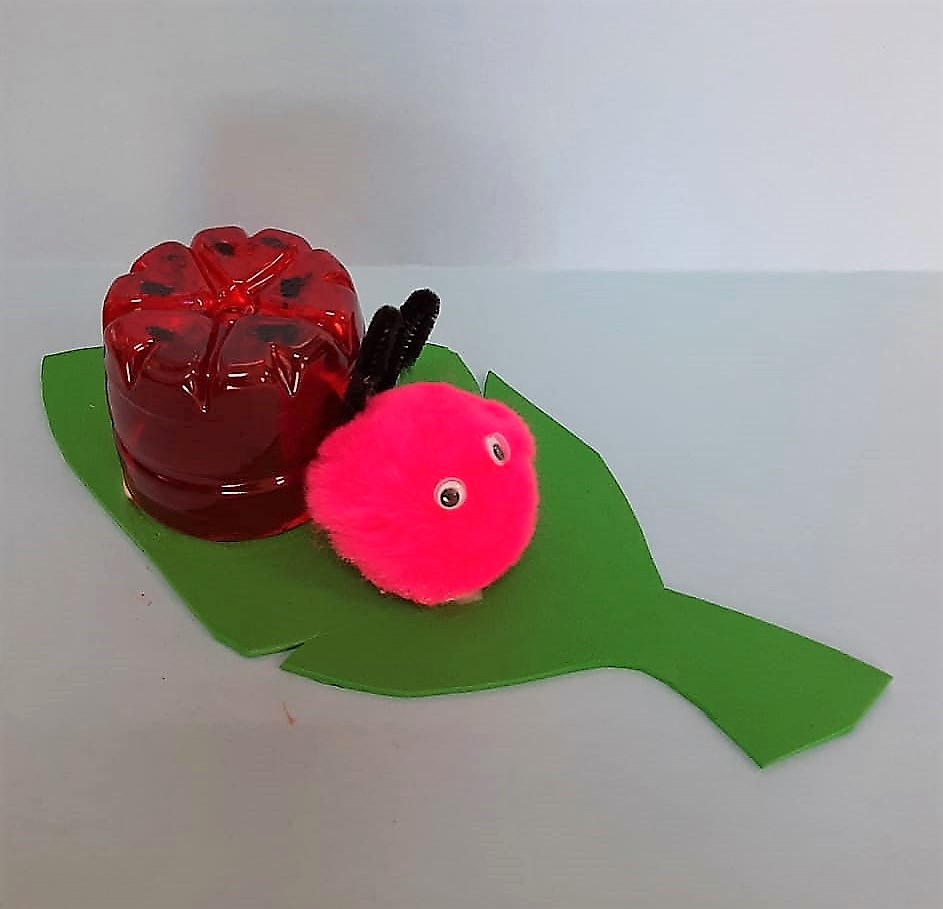
Lady Bugs from recycled water bottles (click to view photos)
-
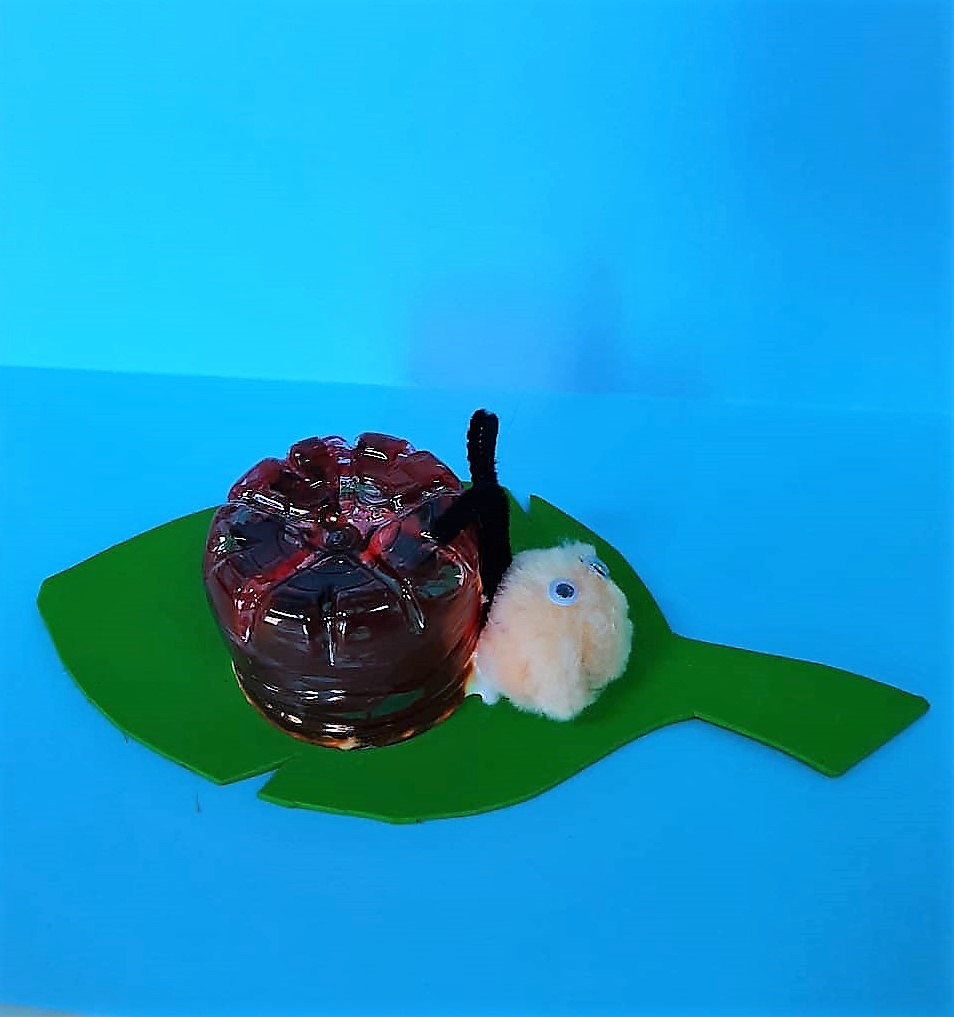
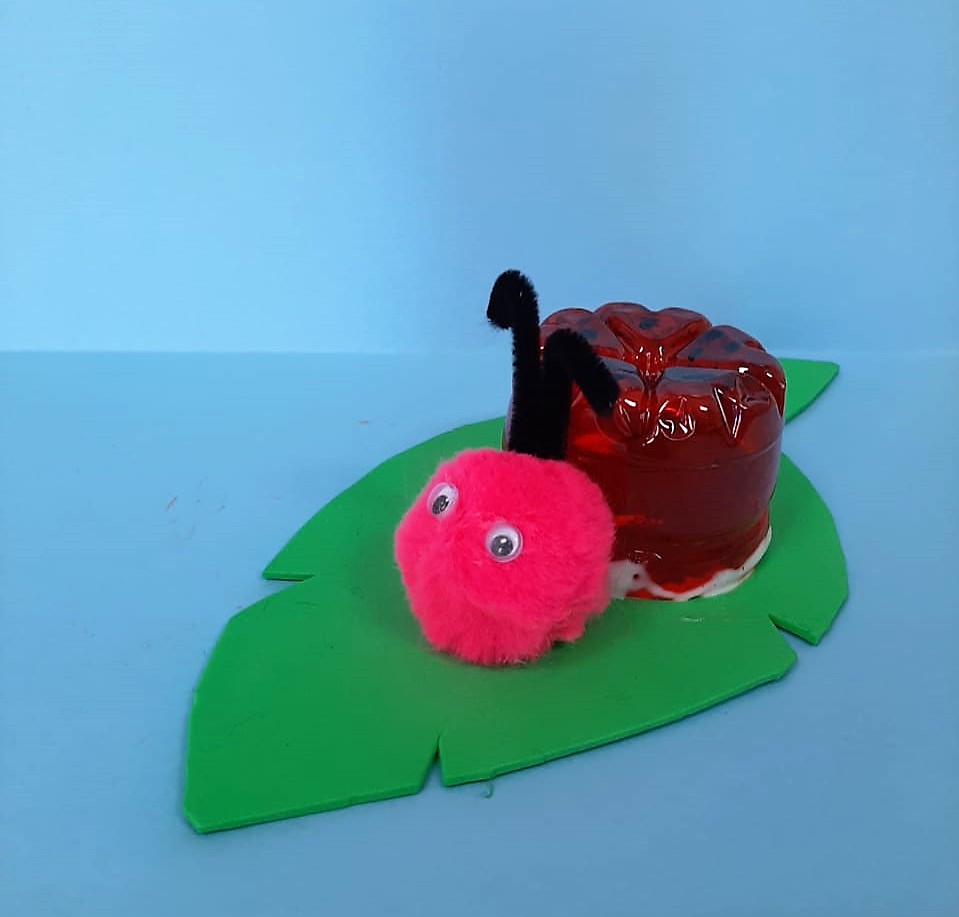
The plastic bottle is such a versatile material which can be upcycled to make artsy, fun and gorgeous projects. Just with a little creative inspiration and a do-it-yourself attitude, you can turn those empty plastic bottles into a variety of decorations. Grade 1 learners made these tiny ladybugs come to life with the bottoms of plastic water bottles.
-
 Layla Rahal (al) orabi (al)Gr. 1 A
 -
 Rimas TamimGr.1 A
 -
 Celine KaskasGr. 1 C
 -
 Miral MneimnehGr. 1 C
-
Painting and drawing in the style of Joan Miro (click to view photos)
-
Joan Miro, a Spanish artist who studied in Paris, is best known for his whimsical abstracts. Many of his paintings combine lines and colors that create wonderful shapes that may or may not tell a story–depending on your perspective! I love teaching Miro as his art is so engaging. For little ones, I like to implement a basic line technique that teaches children that when you bend and curve lines, they form shapes. I displayed a few Miro paintings and we talked about whether or not they were appealing to us. Then, we dissected the lines and shapes to see if we could identify the story that Miro wanted to tell. The children really identified with Miro’s style. On a white paper, children drew lines and shapes with a regular pencil. Only the basic shapes were added. Then they applied color with watercolor paint. Detail lines can wait for now. We talked about white space, whether or not to paint a background and the saturation of Miro’s color palette. Once the paint colors were applied, children went back over any colored lines that disappeared under the colored paint. This is a wonderful, expressive way of creating forms through the shapes. Learners then created their own stories from lines, shapes, and color. Then when their work dried learners added details with colored markers. Funny little men and fish in front of you!
-
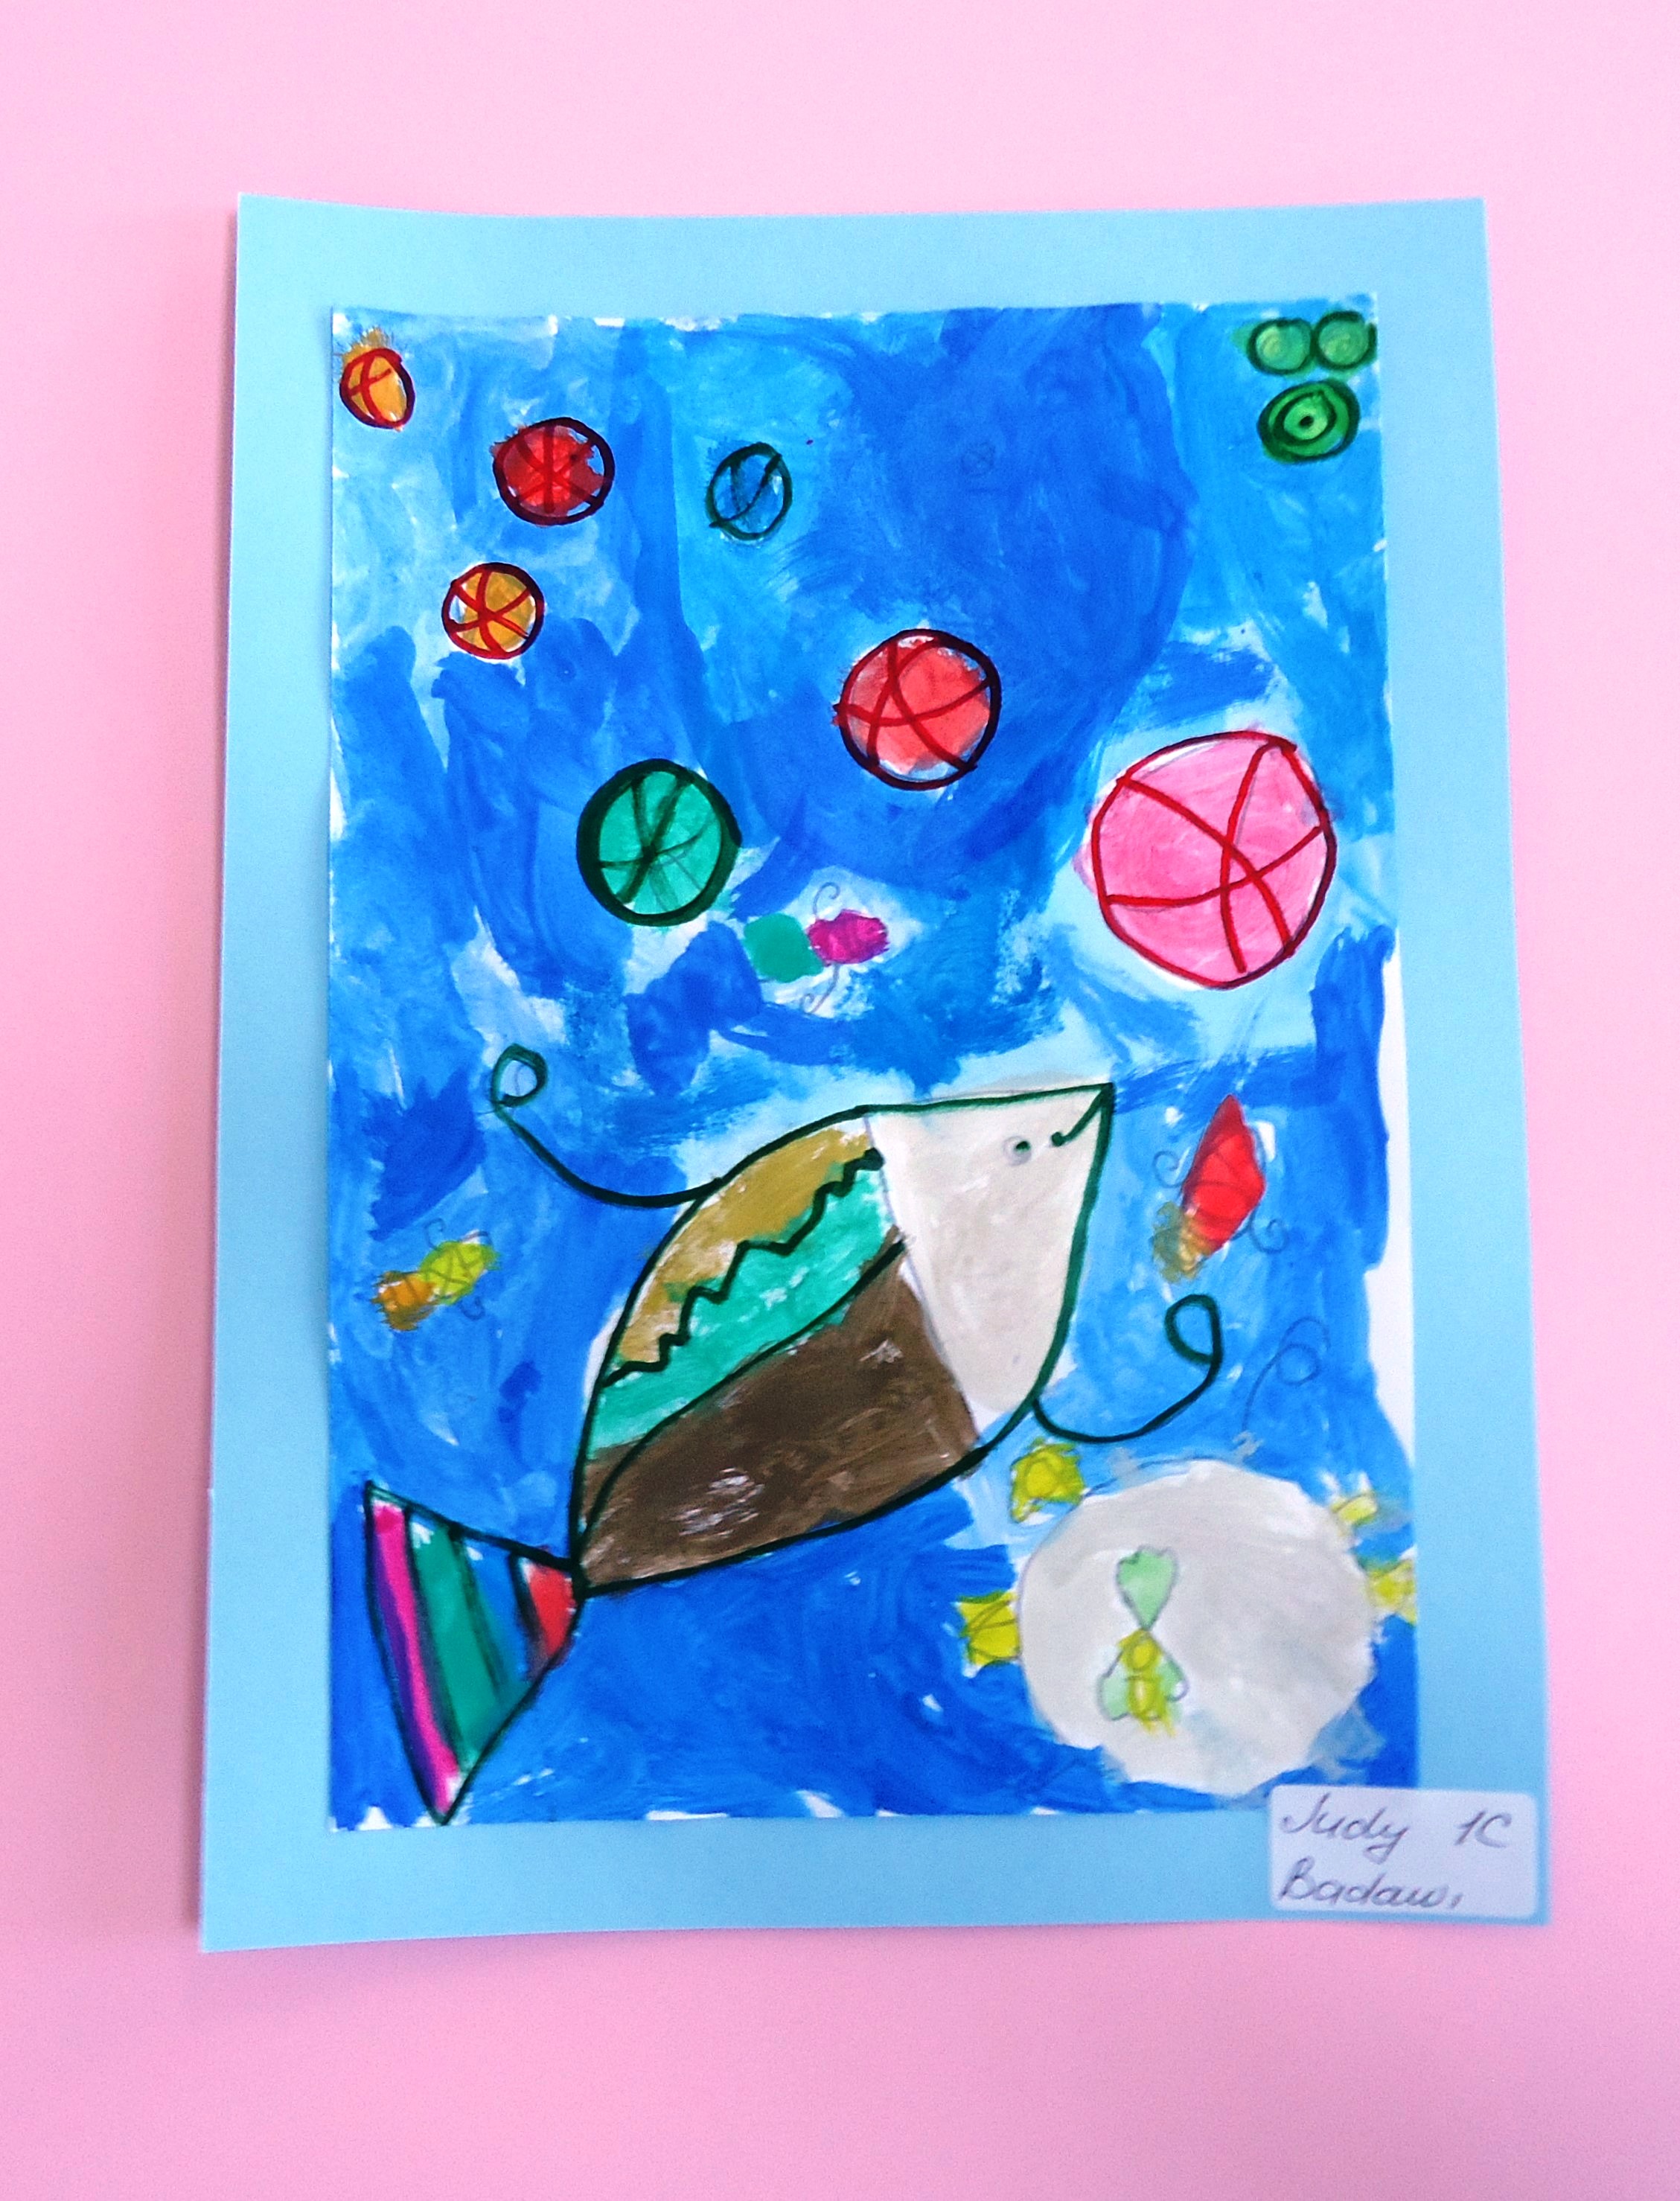 Judy BadawiGr. 1 C
 -
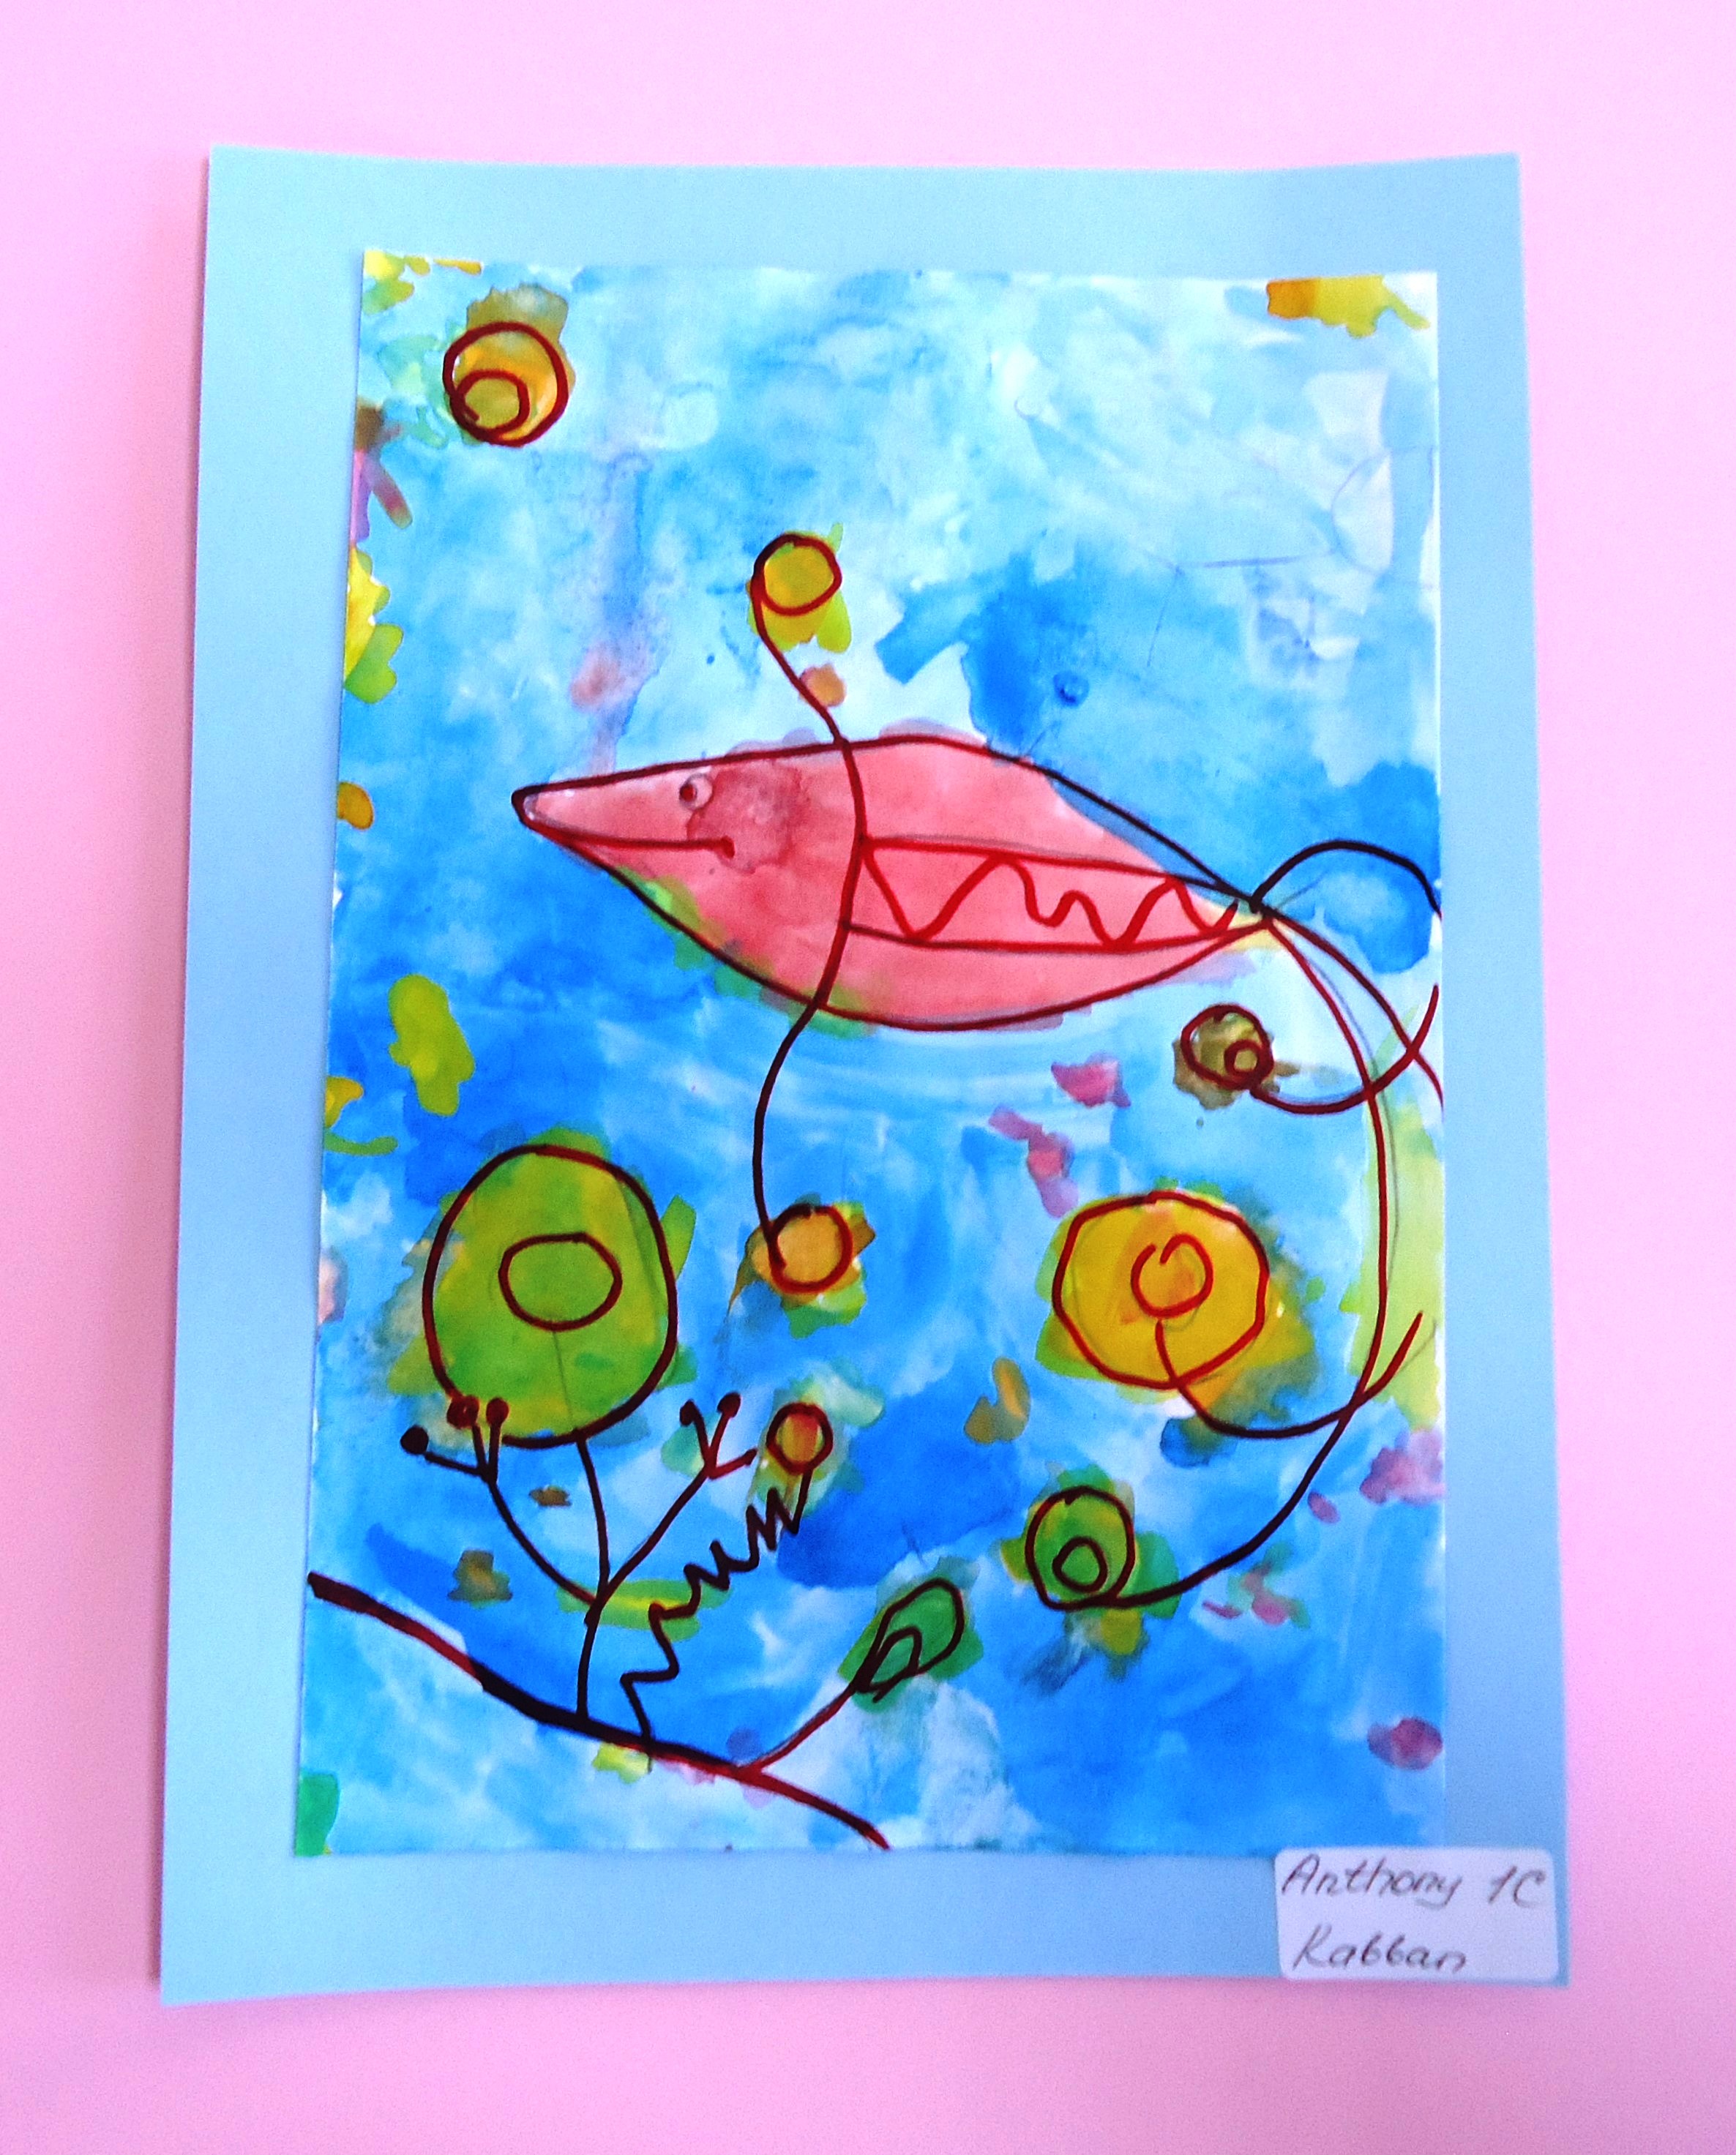 Anthony KabbanGr. 1 C
 -
 Aya KaakaniGr. 1 B
-